Showing posts with label Random acts of Craftiness. Show all posts

Sunday, January 19, 2014

Blessing #223 - The Reading Nook Bench

Friday, I shared how we are making over the boys rooms for the Christmas present.

What?

It's January and we are still working on their Christmas present?

I know. I know.

Anyway, we live in a house that is about 150 years old.  It's beautiful.  It's quaint, and sometimes it's a little crazy.

The boys rooms are side by side.  You have to walk through Collin's room to get to Brandon's room.  There's no actual door between their rooms, but a little landing.

This picture isn't really a before pic.  This picture was after I had cleaned out the area and painted it.


Originally, we had a cheap book shelf on that tall wall, but that didn't work at all so I boxed up the important books and gave the shelf to Goodwill.

Parenting Lesson Learned: Never put a bookshelf with precious keepsake memory books in a room alone with two little wild men.

The landing is kind of awkward.  Let me show you the other wall you can't see in the previous picture.


Yep, two doors on the same wall. Nope, they don't match. Yes, the one door is so high off the ground my entire dust pan can fit under it.  Like I said, 150 year old houses can be crazy, but isn't that one latchy door nob on the right just gorgeous!?!

Because the space was so awkward, I really didn't know if I was even going to do anything with it, but one day, B was talking to Shad about his hopes for the new room and said, "Dad, I would really like a place to read."

When Shad told me that, I said, "Wait! That's all I need to know!"

See, I am not only a math nerd, but I am also a book nerd.  I love, looooove, LoOoOoOoVe books, and I always have.

When I was in the sixth grade, I had a notebook where I kept record of all the books I read and I wrote little reviews of each book.  I still remember that I read 65 books that year.

What?

No, I was not very popular in middle school. Why do you ask?

Yes, I love books.  If Brandon showed the slightest interest in reading, I was going to run with that.

I asked my friend if she saw any ideas of book nooks on Pinterest to send them my way.  She then suggested me, "What about a crib mattress?"

I really didn't think it would fit, but the crib mattress was in the attic so I had to try.


Do you see it? No, not the dirt on the mattress. It fits. The mattress fits perfectly!!! I couldn't believe it! My friend that suggested it was my new hero!!!

I knew I would like to get the mattress off the ground, but I really didn't want to spend much money for a base.  Also, I needed a base that was movable if I needed to get into that door. When I told Shad about it, he suggested I use some plastic crates he had saved for me at his work.


I laid the crates out and realized it would take two rows of three crates, but fortunately, we had enough!

The crates were nice, but I really wanted them to be the same color so my good friend spray paint saved the day!

A while ago, my mother-in-law gave me a few cans of orange spray paint when it didn't work for a project.  Orange was a perfect splash of color for the book nook...especially free orange!


YaY! I found an awesome gray chevron crib sheet from Target for $15, and the pillow is from our living room that graduated to this space.

The blanket is a teal blanket from TJ Maxx for $15.

The crates are attached to each other with zip ties.  The crate base probably isn't strong enough to support two adults, but for two little boys, the crates work.


B was so thrilled with the bench! When we loaded the books into the crates, B said, "I am putting my fiction books in this crate, and my non-fiction books in the other crate."

I don't think I've even been prouder.  I almost said, "Yeah! Great idea! Do you want to use the dewey decimal system or the library of congress system?" I reigned in my nerdiness though and just gave him a big kiss.

As thrilled as I was with the crates, I knew it needed one more step.


A pop of polka dot fabric! I wanted a pin dot, but Hobby Lobby didn't have it. This big dot works though.

The fabric was about $4.  The orange pillow is a pillow cover from Hobby Lobby that I used a 40% off coupon to make it about $4 or $5. Again, I used another pillow from our living room that was getting a little old to fill the pillow cover.

Suddenly, what was an awkward, wasted space, is now my new favorite space in the whole house!


The view out the window is gorgeous! I really wanted to space to feel magical like a special little hang out just for the boys.

I am just loving this bench and reading nook!


And so are the boys!

All the pictures of the bench perfectly styled are pretty, but I love this picture most of all.


This is how, I've been finding the bench every morning piled with B's sleeping bag, stuffed animals, dinosaur book, and a flash light. B has been falling asleep there every night, and I couldn't be happier.

If you are keeping track, the total spent on this bench was...

crib sheet $15
blanket $15
fabric $4
foam core board (to put fabric on) $3
pillow cover $5
TOTAL $42

The Reading Nook is not done yet.  I still have to dress the walls, and I might do something fun with the ceiling.

I just love that a wasted, awkward space is being filled with many supplies I already had to make something magical!


Wednesday, July 11, 2012

Blessing #126 - Herb Garden 2 point 0

I have never really cooked with herbs so I've never really been interested in having an herb garden.  Then one of my favorite people at my church gave me some dill, chives, and basil. 

I bought some basic black planters for $1 a piece from Walmart to match the planters I used for my "hi" planters.


I planted all my herbs, and put them on my porch.  Then one day, I was working in my garden and Collin was playing on the porch.  He was so quiet that I got a ton of work done...I should have known. 

I could see his back as he played, but not his front.  After I finished working, I walked up on the porch.  As Collin turned to greet me, I was mortified to see him holding all of my herbs...by the roots.  Yes, he had been playing quietly because he was destroying my herbs!

After that incident, I set out to find more herbs.  Fortunately for me, many of the herbs were on sale.  I got my basil and rosemary for 50 cents a piece.

After replanting my new herbs, I thought about making some vinyl labels for the planters, but then I just thought I would try to write the names with chalk.  I love the outcome!


When it rains, the chalk comes off, but it's super easy to put it back on. 

When I was looking for a way to display my herbs, I knew an old rusty metal crate that I got from the Junk Bin for $2 would be perfect. I loved the rust.  As much as I loved the rusty look, it blended in with my floor.  I lightly sprayed it with some white spray paint I had just to make it pop.  I still wanted the rust to show through.  I bought a blank switch plate at Walmart for 48 cents and painted it with chalkboard paint. 


I grouped all my herbs and "wallah" herb garden 2 point 0!


I love this herb garden. It combines so many of my favorite things...

chalkboards
rust
crates
plants
labels

It's a favorites overload!


I just have to keep my eyes open.  I think he's already planning how to destroy herb garden 2 point 0.


If you have any favorite recipes that involve parsley, dill, rosemary, basil or sweet mint, please send them my way!


Tuesday, March 13, 2012

Blessing #111 - Meeting a Goal

Remember in January when I set some goals? Well, I didn't reach all those goals, but I did try. 

One goal I did accomplish was to organize my fridge.  After drooling over all the refrigerator pins I could find, I set out to get my own fridge in order. 

The before shot is pretty sad.  It was the end of the week and the food supply was running low.  I think I see a tumbleweed rolling in the back there. 


 Of course, I had to make labels for the fridge.  I can organize all day long, but if Shad doesn't know where stuff goes it won't last. 


 Here is the door now...


The "fixin's" label may sound strange, so let me explain.   I started to make a label that said "condiments," but then I remembered that Shad giggles like a junior high boy every time he says that word. 

In order to save myself from all the jokes, I just made a fixin's label. 

Inside the fridge, I used some bins from the Dollar Tree to separate some items. 

The labels are 39 cent wooden plaques from Michaels.  I painted them, put a label on, drilled a hole, and attached them with brads.


Here's the finished product! 


I'm loving how nice my fridge is looking now!

Maybe I didn't meet all the goals I set for myself in January, but my fridge looks great!

If you like the vinyl labels that I used in this project, I am selling them in my etsy shop!


I'm sharing this at Works for me Wednesday at We are that Family and Young House Love's Pinterest Challenge.

Sunday, March 11, 2012

Blessing #110 - a {new} mantle

I've been itching to do some work in our house.  I've developed a twitch every time I look at the dark paneling in our dining room and kitchen.  There's so much to do though I just end up feeling overwhelmed. 

The last time I felt that overwhelmed, I decided to decorate the mantle to spruce up the house. 


I loved displaying my glass collection, but it's been a few months and I was ready for a change. 

Saturday, I started shopping around my house for what I could use for a new mantle look. 

The last time I went to the Crumpton auction, I got this mirror in a lot with another item I wanted. (Collin is an expert photobomber. Somehow he managed to slip in this picture at the last second.)


I cleaned up the mirror, painted the frame orange, and I painted the mirror with chalkboard paint. 

That's right! I said chalkboard paint. 

Yes! I may or may not have a problem with my chalkboard addiction.

Everyone has their vices, mine just happen to be mason jars, burlap, and the overwhelming need to make everything a chalkboard

When Shad saw me pull out the chalkboard paint, he said, "Not another chalkboard!"  I just pretended like I didn't hear him and kept working.

In the end, I love the new look...


The other items on the mantle I picked from around the house. 

I really like the new mantle look, and it's helping me to feel like I'm actually getting something done in the house even if I still twitch when I see the dining room walls.

Thursday, January 26, 2012

Random Acts of Craftiness #8 - Weight Loss Jars

When I did Weight Watcher's a few years ago, I went to the meetings. One of my favorite parts of the meeting was at the end, when the leader would pass out the gold star stickers. These gold star stickers were for anyone that had reached a 5 pound milestone that week (5,10,15,20.... pounds). Everyone would clap as the person's name was called out, and it was my favorite moment of the meeting.

I saved all my gold stars in my weigh in booklet. Now that I am doing WW online, I really miss those gold star stickers. (Yes, I require the same motivation as a potty training toddler.)

As soon as I saw this on pinterest, I knew I had found my motivation tool. I looked around my house to see if I had the right container, and ended up using some of my old canning jars from my collection.


I used two bags of glass filler from the Dollar Tree, and made a label for the front (just like my pantry labels). I put 50 little glass marbles in the pounds left jar.


Then I took out 17 marbles and put them in the pounds lost jar. I felt so accomplished as I took those marbles away from the jar of 50.


Every week after I weigh in, I will be able to take some marbles and move them to the pounds lost jar (hopefully). That's almost as good as a gold star sticker.


Sunday, November 6, 2011

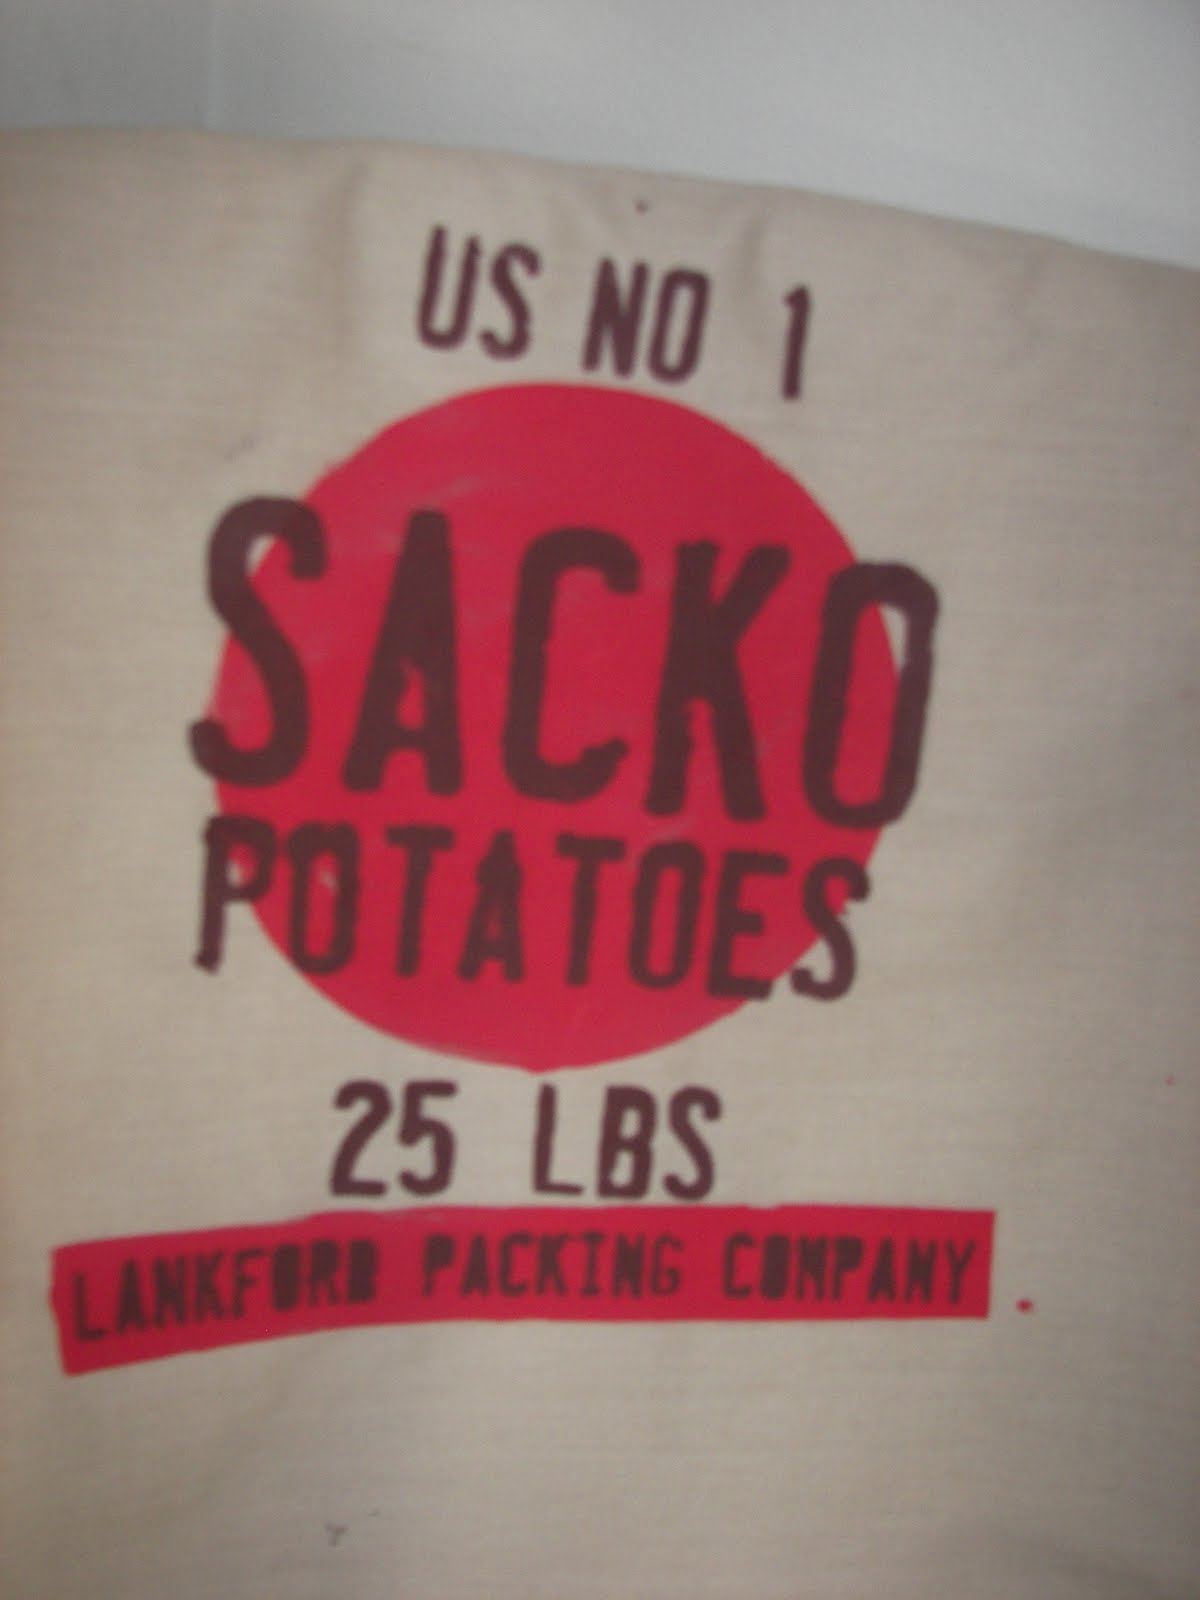
Random Acts of Craftiness #7- Sack of Potatoes Costume

Wednesday, I posted about B's tornado costume. For Collin's costume I decided to make a "Sack of Potatoes."

Originally, Collin was going to wear B's first Halloween costume, a skunk. Then I saw this pin on pinterest, and I knew I had to make a sack of potatoes.

I started with a pillowcase from Goodwill that cost $1.


I tried to fit the pillow case on Collin, but that proved to be impossible.


I resorted to plan B, and just used the shirt Collin had on to decide my fit.

I sewed up the sides and left space for armholes. I didn't even bother making the armholes look nice. I wanted a frayed look.

I folded the top down and made a pocket. Afterwards, I threaded a strip of material through the pocket. When it was tied, this gave the costume the gathered look.

At this point, I tried the costume on Collin and cut the length where I wanted it. I cut it slightly longer than a shirt. Again, I didn't bother hemming the end because I was going for the frayed look.

I cut stencils for the logo out of shelf paper with my silhouette machine.


First, I painted on the background. (I got a little impatient and dried it with my hair dryer on the cool setting.)


Then I painted on the letters. Get it...Sacko Potatoes...Sack o' potatoes. I also liked "Lankford Packing Company" at the bottom.


Now, I just needed to add some taters! To do this I used a pair of panty hose from the dollar tree. To stuff the potatoes, I used a stuffed animal from Goodwill. I picked something that B or Collin wouldn't care about because I knew I was just going to rip it open and use the stuffing. I found this pink easter basket that didn't have a face on it, and cut it up for the stuffing.


I used a needle and thread to sew up the potatoes and make the eyes of the potatoes.


Here's the finished product on my little man. Cost: Pillow case $1, panty hose $1, stuffed animal for stuffing $1, and I already had the paints and the thread. Total cost...$3!

And now the finished product...


I loved this costume, and it was well worth the effort for such a sweet look!


I'll be linking this up to these sites.

Wednesday, November 2, 2011

Random Acts of Craftiness #6 - Tornado Costume

This year, I decided to try and make the boys Halloween costumes. Brandon isn't really into superheroes, and you can only be a tractor so many times. One night, I thought of the perfect costume for B...a tornado. (Trust me. It's perfect!) I sold B on the whole idea when I told him he could spin around. So I set out to make a tornado for my B.

Goodwill is having a creative costume contest, and I'm a sucker for a Goodwill contest. I knew I wanted to make a tornado, but I had to figure out how to make it from Goodwill supplies. I used a $2 Seally twin sheet from Goodwill.


Step 1: I laid Brandon down on the sheet and pinned out a tornado shape.


Step 2: I sewed up the sides of my tornado. It was at this point that I realized I forgot to make armholes even after I told myself to remember. Fail!

Step 3: Unable to find a quick and easy solution for my lack of arm holes, I just used more of the sheet to make another tornado. Good thing there was plenty of it!

Step 4: Tornadoes aren't typically white so I put some black and white paint in some water to make a grey dye. Just ignore those strings. That was my attempt at tye-dye. FYI it was a failure!


Step 5: I painted the stripes on my tornado. If I made it again, I would probably use painter's tape for sharper edges.

Step 6: I folded down the top and sewed a pocket.

Step 7: I put pipe insulation in the pocket to give the tornado support. I think it was around $2.50 for 4 pieces of the foam. I still have 2 pieces I will probably use as wreath forms.


Step 8: I hand stitched ribbons to go across his shoulders to hold it up. (This did not work well, and I would definitely sew a strap and sew it in place with a machine if I did it again.)

Step 9: I used glow in the dark dimensional paint to outline the lines on the tornado. I should not have done this. The glow in the dark paint wasn't that strong, and ended up being a waste of time.


I spent $2 for the sheet, $2.50 for the pipe insulator, and around $2.50 for the glow in the dark paint. I had all the other materials already. Total cost around $7.


Here's B and Shad. You may be wondering what Shad was for Halloween. After a Dollar Tree metal tray and rose and he's...


The Bachelor! (Yes, I know it's sad, but I do like that show.)


What about me Mom?

I know Colli Bear. I'll talk about your costume next week!

I'll be linking up this project to these fantastic sites.